Introduction
Installing electrical switches and outlets correctly is crucial for ensuring safety, functionality, and efficiency in your home or workplace. Whether you’re a DIY enthusiast or a professional electrician, understanding the nuances of switch and outlet installation can help you avoid potential hazards and ensure your electrical system operates smoothly. In this blog, we will explore the types of switches and outlets, the tools and materials needed, safety precautions, step-by-step installation guides, common mistakes, advanced tips, troubleshooting advice, and frequently asked questions to guide you through the process.
Understanding Electrical Switches and Outlets
Types of Electrical Switches
- Single-Pole Switches: The most common type, used to control a light or device from one location.
- Three-Way Switches: Used to control a light or device from two locations, commonly found in hallways or staircases.
- Four-Way Switches: Used in conjunction with three-way switches to control a light or device from three or more locations.
- Dimmer Switches: Allow you to adjust the brightness of a light.
- Smart Switches: Enable remote control of lights and devices via smartphones or voice assistants.
Types of Electrical Outlets
- Standard Outlets: Basic two or three-prong outlets used for general purposes.
- GFCI Outlets: Ground Fault Circuit Interrupter outlets that protect against electrical shock by cutting off power when a ground fault is detected. Commonly used in bathrooms and kitchens.
- AFCI Outlets: Arc Fault Circuit Interrupter outlets that protect against electrical fires by detecting dangerous arcing conditions.
- USB Outlets: Include built-in USB ports for charging devices.
- Smart Outlets: Allow remote control of connected devices via smartphones or voice assistants.
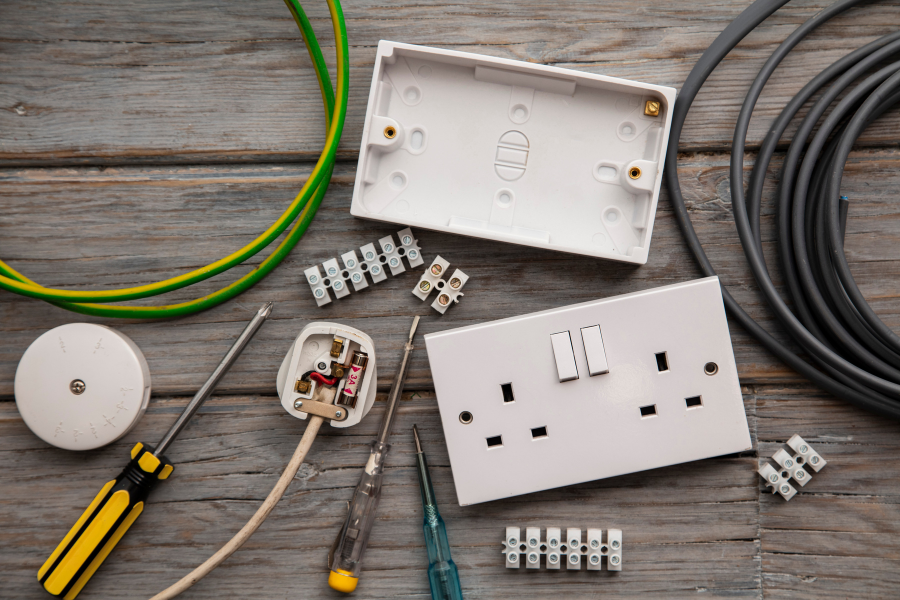
Tools and Materials Needed
Essential Tools
- Screwdrivers (flathead and Phillips)
- Wire strippers
- Voltage tester
- Pliers
- Electrical tape
Materials
- Switches and outlets (appropriate type for your needs)
- Electrical box
- Wire nuts
- Appropriate wiring (usually 14-gauge for 15-amp circuits and 12-gauge for 20-amp circuits)

Safety Precautions
- Turn Off the Power: Before beginning any electrical work, turn off the power at the circuit breaker.
- Test for Power: Use a voltage tester to ensure there is no electrical current in the wires you’ll be working on.
- Understand Local Electrical Codes: Familiarize yourself with local electrical codes and regulations to ensure compliance.
- Use Protective Equipment: Wear safety goggles and insulated gloves to protect against electrical shock and debris.
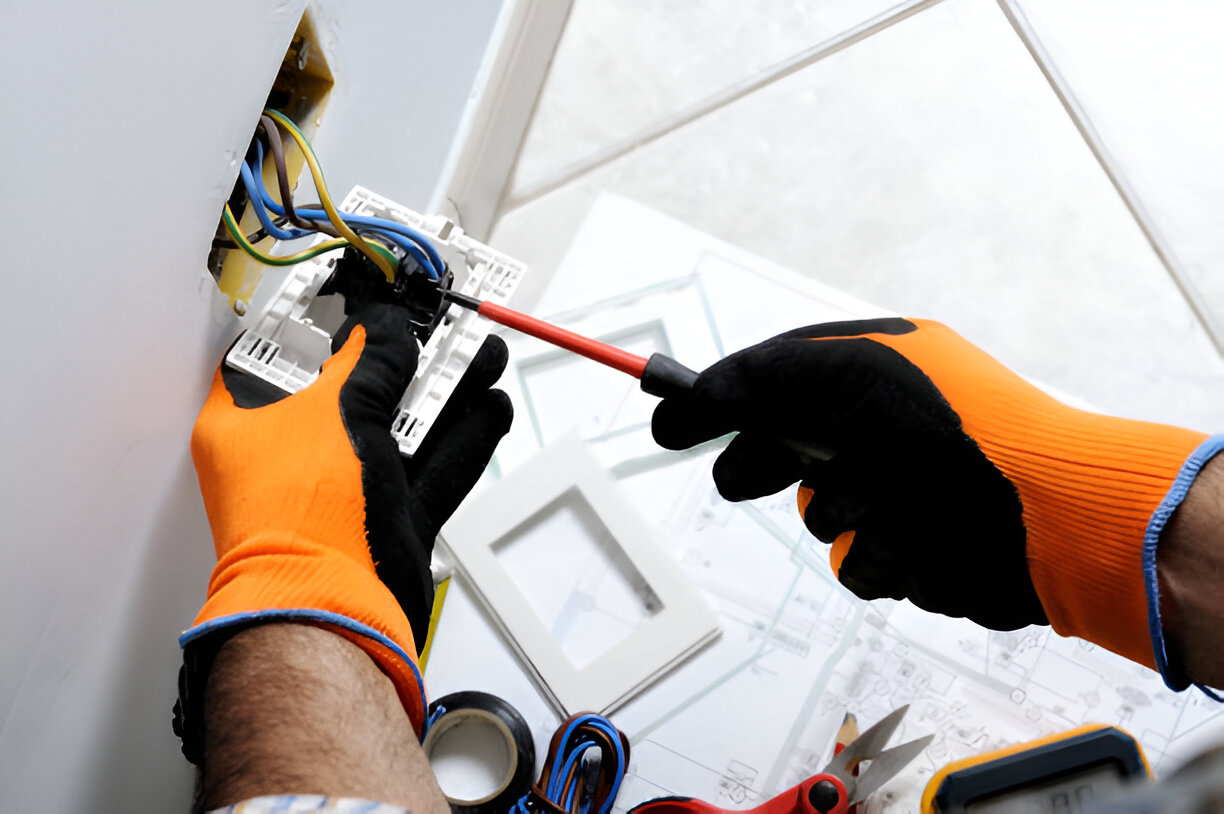
Step-by-Step Guide to Installing a Switch
- Preparing the Installation Site
- Turn off the power at the circuit breaker.
- Remove the cover plate and existing switch (if applicable).
- Test for power using a voltage tester.
- Connecting the Wires
- Identify the common wire (usually black) and connect it to the common terminal on the switch.
- Connect the remaining wires (travelers) to the corresponding terminals.
- If installing a dimmer or smart switch, follow the manufacturer’s instructions for additional wiring requirements.
- Securing the Switch in the Electrical Box
- Carefully tuck the wires into the electrical box.
- Secure the switch to the box with screws.
- Testing the Switch
- Turn the power back on at the circuit breaker.
- Test the switch to ensure it functions correctly.
Step-by-Step Guide to Installing an Outlet
- Preparing the Installation Site
- Turn off the power at the circuit breaker.
- Remove the cover plate and existing outlet (if applicable).
- Test for power using a voltage tester.
- Connecting the Wires
- Identify the hot wire (usually black or red), neutral wire (white), and ground wire (green or bare copper).
- Connect the hot wire to the brass terminal, the neutral wire to the silver terminal, and the ground wire to the green terminal.
- If installing a GFCI or AFCI outlet, follow the manufacturer’s instructions for additional wiring requirements.
- Securing the Outlet in the Electrical Box
- Carefully tuck the wires into the electrical box.
- Secure the outlet to the box with screws.
- Testing the Outlet
- Turn the power back on at the circuit breaker.
- Test the outlet to ensure it functions correctly using a voltage tester or plug-in device.

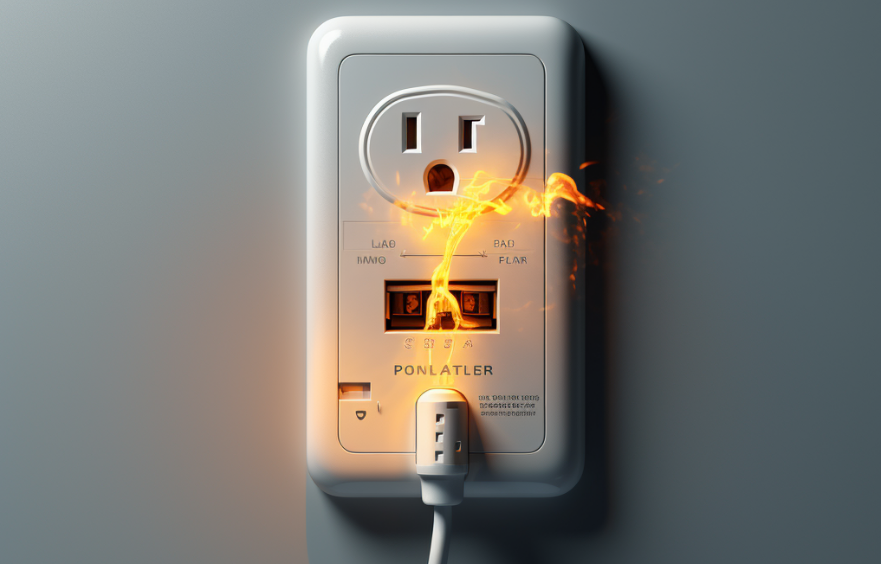
Common Mistakes to Avoid
- Over-Tightening Screws: This can damage the switch or outlet and create a poor connection.
- Miswiring Connections: Always double-check wire connections to ensure they are correct.
- Not Using the Correct Type of Switch or Outlet: Use the appropriate type for the location and application.
- Ignoring the Importance of Grounding: Proper grounding is essential for safety.
Advanced Installation Tips
- Installing GFCI and AFCI Outlets
- Follow the manufacturer’s instructions carefully.
- Ensure correct line and load connections.
- Installing Smart Switches and Outlets
- Verify compatibility with your home automation system.
- Follow the manufacturer’s setup process for pairing with your smart device.
- Upgrading Existing Installations
- Consider replacing old, worn-out outlets and switches with modern, safer options.
- Upgrade to AFCI outlets in areas prone to electrical fires, such as bedrooms and living rooms.
Troubleshooting Installation Issues
- If the Switch or Outlet Doesn’t Work
- Double-check all wire connections.
- Ensure the circuit breaker is not tripped.
- Verify that the switch or outlet is not defective.
- Identifying Common Wiring Problems
- Look for loose or disconnected wires.
- Check for damaged or frayed wiring.
- When to Call a Professional Electrician
- If you encounter complex wiring issues.
- If you are unsure about any part of the installation process.
- If you need to comply with local electrical codes and regulations.
FAQs
How do I know if I need a GFCI outlet?
GFCI outlets are required in areas where water is present, such as bathrooms, kitchens, laundry rooms, and outdoor locations. They protect against electrical shock.
Can I replace a standard switch with a dimmer switch?
Yes, you can replace a standard switch with a dimmer switch. Ensure the dimmer switch is compatible with the type of light bulbs you are using (e.g., LED, incandescent).
What is the difference between a GFCI and an AFCI outlet?
GFCI outlets protect against electrical shock by cutting off power when a ground fault is detected. AFCI outlets protect against electrical fires by detecting dangerous arcing conditions.
How often should I inspect my switches and outlets?
It’s a good idea to inspect switches and outlets annually to ensure they are functioning correctly and there are no signs of wear or damage.
Conclusion
Correct switch and outlet installation is essential for ensuring safety and efficiency in your electrical system. By understanding the types of switches and outlets, using the right tools and materials, following safety precautions, and adhering to step-by-step guides, you can complete your installation projects. Avoid common mistakes, consider advanced installation tips, and know when to call a professional electrician for help. By following these guidelines, you can achieve a safe and functional electrical setup in your home or workplace.
Contact Us Now For Your Electrical Needs
If you found this blog helpful, please share it with others who might benefit from it. If you have any questions or need further assistance with your electrical projects, feel free to leave a comment or contact us directly.