Ceiling fans are a popular addition to many homes, providing both style and functionality. A well-installed ceiling fan can improve air circulation, reduce energy costs, and enhance the overall aesthetic of a room. However, proper installation is crucial to ensure safety and efficiency. In this comprehensive guide, we’ll walk you through the best tips for ceiling fan installation, ensuring a smooth and successful process.
Preparation for Installation
Choosing the Right Ceiling Fan
Before diving into the installation process, it’s important to choose the right ceiling fan for your space. Consider the size and style of the fan to ensure it fits well with your room’s décor and provides adequate airflow. Larger rooms typically require fans with a larger blade span, while smaller rooms can accommodate smaller fans. Additionally, look for energy-efficient models with high Energy Star ratings to save on electricity costs. Modern ceiling fans also come with various features like remote control, adjustable speeds, and integrated lighting, so choose one that meets your needs.
Gathering Necessary Tools and Materials
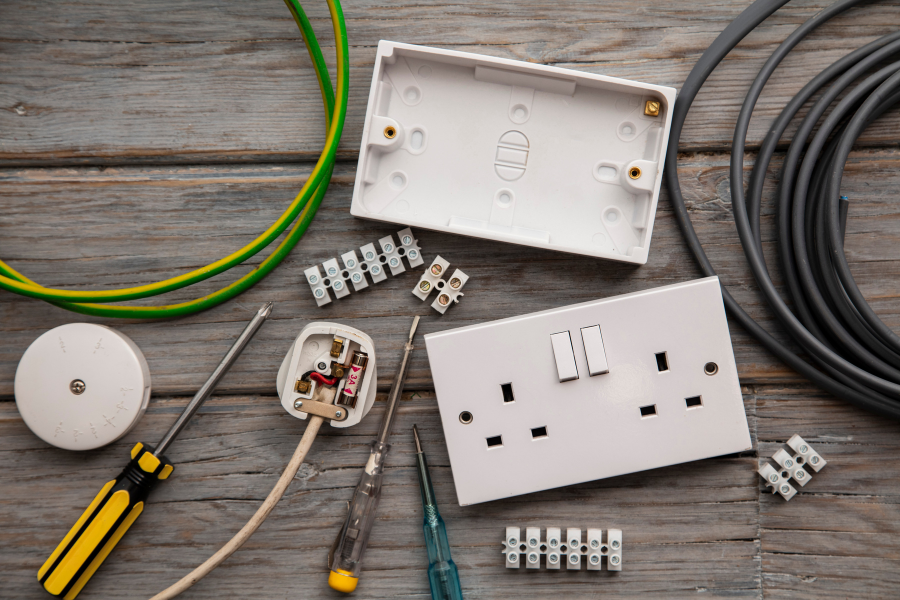
Having the right tools and materials on hand will make the installation process much smoother. Here’s a checklist of items you’ll need:
- Screwdrivers (flathead and Phillips)
- Pliers
- Adjustable wrench
- Ladder
- Wire strippers
- Voltage tester
- Electrical tape
- Mounting brackets
- Ceiling fan (with all components)
Safety Precautions
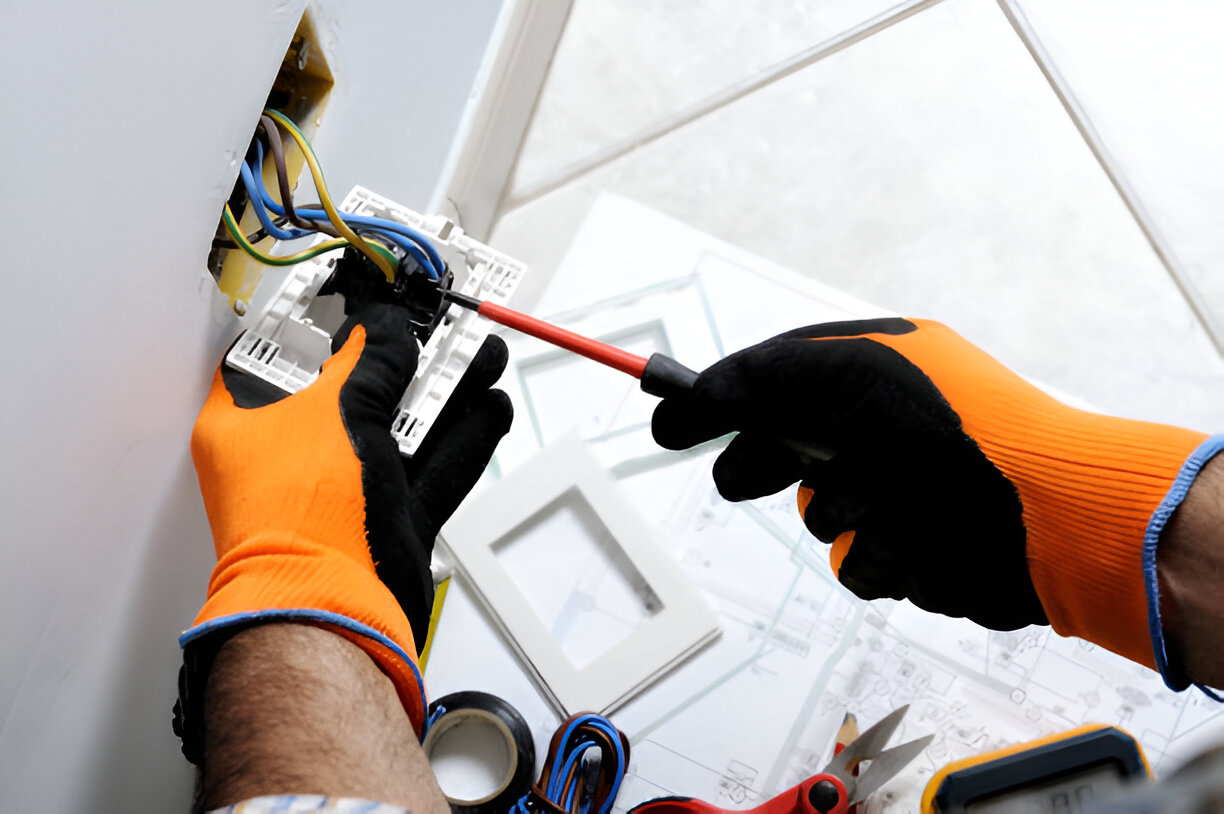
Safety should always be a top priority when working with electrical components. Before you start, turn off the power at the circuit breaker to avoid any risk of electrical shock. Use a voltage tester to confirm that the power is off. Wear appropriate safety gear, such as gloves and goggles, to protect yourself during the installation.
Step-by-Step Installation Guide
Step 1: Removing the Existing Fixture
If you’re replacing an existing light fixture or fan, the first step is to remove it. Carefully detach the old fixture, taking note of how the wires are connected. Once the fixture is removed, inspect the electrical box to ensure it’s suitable for supporting a ceiling fan. The box should be securely attached to the ceiling joists and rated for fan support.
Step 2: Installing the Ceiling Bracket
Next, attach the ceiling bracket that comes with your fan to the electrical box. This bracket will support the fan and keep it securely in place. Use screws to attach the bracket to the electrical box, ensuring it is level and tightly secured.

Step 3: Assembling the Fan Components
Now it’s time to assemble the fan components. Follow the manufacturer’s instructions to put together the fan motor and blades. If your fan has a download, attach it to the motor at this stage. Make sure all screws and connections are tight to avoid any wobbling or instability later.
Step 4: Wiring the Ceiling Fan
Wiring the ceiling fan is a critical step that requires attention to detail. Connect the wires from the ceiling to the corresponding wires on the fan: typically, black to black (hot), white to white (neutral), and green or bare copper to green (ground). Use wire connectors to secure the connections, then wrap them with electrical tape for added safety. Carefully tuck the wires into the electrical box.
Step 5: Attaching the Fan to the Ceiling
With the wiring complete, it’s time to attach the fan to the ceiling. Lift the fan and secure it to the ceiling bracket using the screws provided. Ensure all screws are tight and the fan is stable before proceeding.
Step 6: Installing the Fan Blades
Attach the fan blades to the motor using the screws provided. Make sure each blade is securely attached and that they are all evenly spaced. This helps maintain balance and prevents the fan from wobbling during operation.
Step 7: Adding the Light Kit (if applicable)
If your ceiling fan includes a light kit, now is the time to install it. Connect the wires from the light kit to the corresponding wires on the fan, following the manufacturer’s instructions. Secure the light kit to the fan and install the bulbs.
Step 8: Testing the Fan and Light
Finally, turn the power back on at the circuit breaker and test the fan and light to ensure they are functioning correctly. Check the fan’s operation at different speeds and verify that the light works as expected. If everything is in order, your installation is complete!
Troubleshooting Common Issues

Even with careful installation, you might encounter some common issues. Here are a few troubleshooting tips:
- Fan wobbling or shaking: Ensure the blades are balanced and all screws are tight. You can use a blade balancing kit if necessary.
- Fan not working or making noise: Double-check the electrical connections to ensure they are secure. Make sure all components are properly installed and aligned.
Maintenance and Safety Tips
To keep your ceiling fan in optimal condition, regular maintenance is essential. Clean the fan blades and motor periodically to prevent dust buildup. Check and tighten all screws and connections every few months. Always turn off the fan and power supply when cleaning or performing maintenance.
FAQs
What size ceiling fan do I need for my room?
The size of the ceiling fan you need depends on the size of your room. For rooms up to 75 square feet, a fan with a blade span of 29-36 inches is suitable. For rooms between 76-144 square feet, choose a fan with a 36-42 inch blade span. Larger rooms up to 225 square feet require a 44-50 inch blade span, and rooms over 225 square feet may need a fan with a blade span of 50-54 inches or more.
Can I install a ceiling fan on a sloped ceiling?
Yes, you can install a ceiling fan on a sloped ceiling using an angled ceiling adapter. This adapter allows the fan to be mounted securely and ensures it hangs properly. Make sure to choose a fan that is compatible with sloped ceilings.
How do I balance a ceiling fan?
To balance a ceiling fan, use a blade balancing kit, which typically includes clips and weights. Attach the clip to the edge of a blade and turn the fan on to see if the wobble decreases. Move the clip to different blades and positions until you find the best balance. Once the optimal position is found, attach a weight to the top of the blade to maintain balance.
Can I install a ceiling fan without a download?
Yes, many ceiling fans can be installed without a download, typically referred to as flush mount or hugger fans. These fans are designed to be installed close to the ceiling, making them ideal for rooms with low ceilings.
What should I do if my ceiling fan is making noise?
If your ceiling fan is making noise, check to ensure all screws and connections are tight. Make sure the blades are balanced and not hitting any obstructions. If the noise persists, inspect the motor and other moving parts for any signs of wear or damage.
Conclusion
Installing a ceiling fan can be a rewarding DIY project that enhances your home’s comfort and style. By following these best tips for ceiling fan installation, you can ensure a smooth and successful process. Remember to prioritize safety, take your time with each step, and consult a professional if needed. With your new ceiling fan in place, you’ll enjoy improved air circulation and energy savings for years to come.
Contact Us
If you found this guide helpful, please share it with your friends and family. Have any questions or comments? Leave them below! And don’t forget to explore our related articles and products for more tips and advice on home improvement projects. Feel free to contact Compass Electric. Our team of experts is here to help you with all your electrical needs.